

How to Connect a WiFi Borescope to Your iPhone or Android Phone
A WiFi borescope is only as useful as your ability to actually connect it. The hardware side is simple — the probe broadcasts its own wireless network — but the pairing step is where most first-time users get stuck. This guide walks through the general process for connecting a WiFi borescope to your phone, plus the settings that trip people up most often.
Note: exact menu names, app names, and indicator light behavior vary by manufacturer and model. This guide covers the process that is common across WiFi borescopes; check your specific unit's manual for exact button and light meanings.
How WiFi Borescopes Connect: The Basic Idea
A WiFi borescope does not connect to your home or office network. Instead, the probe's handle creates its own small wireless network — similar to a travel router. Your phone joins that network directly, the same way you would join any WiFi network at a coffee shop. Once connected, a companion app on your phone displays the live camera feed.
There is no internet involved at any point. The phone and the probe are talking directly to each other over a local connection.
General Setup Steps
- Install the companion app first. Most borescopes require a specific app to view the feed — the camera will not show up in your phone's regular camera roll or a generic app. Check the manual or the product packaging for the app name, and install it before you try to connect.
- Power on the probe. Give it a few seconds — most units take a moment to start broadcasting their network after power-on.
- Open your phone's WiFi settings (not the borescope app yet) and look for a new network in the list. It is usually named after the brand or model, sometimes with a string of numbers.
- Join that network. Many borescope networks have no password, or use a simple default password printed in the manual.
- Open the companion app. With the phone connected to the probe's network, the app should now detect the camera and display a live feed.
iPhone-Specific Notes
iOS treats WiFi networks without internet access as suspicious by default, which causes two common headaches:
- "No Internet Connection" warning. iOS may pop up a warning or even disconnect from a network it decides is not useful. Ignore the warning and stay connected — the borescope does not need internet to work, only a local link.
- Wi-Fi Assist switching networks on you. If Wi-Fi Assist or a cellular fallback is enabled, iOS can silently jump back to cellular data mid-session because it sees no internet on the borescope's network. Turning off Wi-Fi Assist while using the borescope prevents this.
- App permissions. The app will need Local Network permission (and often Camera or Photos permission to save footage). If prompted, allow it — the app cannot find the probe without it.
Android-Specific Notes
- "Stay connected" prompts. Android may ask whether to stay on a network with no internet, or switch to mobile data automatically. Choose to stay connected to the borescope's network.
- Auto-switching networks. Some Android phones aggressively reconnect to a saved home WiFi network if it is in range. If your borescope drops mid-session, check whether your phone jumped to a different network.
- App permissions. Location permission is sometimes required for an app to scan for WiFi networks on Android, even though the app has nothing to do with GPS — this is an Android platform requirement, not something the borescope app is doing wrong.
If It Won't Connect
A quick first pass before deeper troubleshooting:
- Confirm the probe is powered on and has had time to start broadcasting (check for its network name in your WiFi list).
- Confirm you joined the probe's network, not your home WiFi.
- Confirm the app has Local Network and Camera permissions enabled in your phone's settings.
- Move closer — range is shorter than a home router, especially through metal or concrete.
- Restart both the probe and the app.
If none of that resolves it, contact the maker of your scope — WiFi pairing problems are almost always specific to its app or firmware.
Getting the Most Out of the Connection
- Keep your phone within a reasonable range of the probe — WiFi borescope range is typically shorter than a home router's.
- Expect a small delay between moving the probe and seeing it on screen. This is normal for wireless video and is one of the trade-offs of going cable-free — see our comparison of WiFi vs USB vs built-in screen borescopes if latency matters for your work.
- Save footage promptly. Depending on the app, recordings may be stored temporarily before being written to your photo library — don't force-close the app right after recording.
Next Steps
Once you're connected, the rest is inspection technique — see our guides on inspecting engine cylinders and reading what you find. If you're still deciding between a WiFi model and the alternatives, our WiFi vs USB vs screen comparison lays out the trade-offs.
A note on Ralcam's own range: Ralcam does not make a WiFi borescope. Every Ralcam scope either connects to your phone by cable — see our phone borescopes for iPhone and Android — or works standalone on a built-in screen, so there is no network to join and no pairing to troubleshoot. If WiFi drop-outs are the reason you are reading this, a wired scope removes the problem entirely.
Looking for the right borescope?
Browse the full Ralcam range — industrial and automotive inspection cameras for every job.
Shop all borescopes →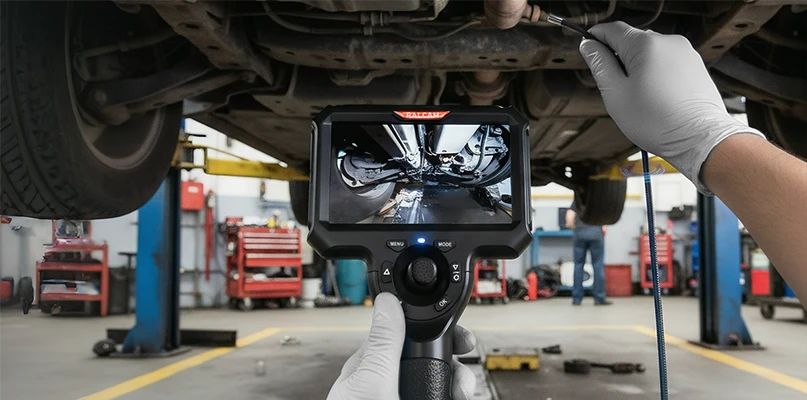
Leave a comment